What's New
myArmsCache Version 5.0.0 | Release Date: January 24, 2025
As many of you know, myArmsCache has been around since 2016 — yes that long!
Every year when Apple updates the iOS, I need to make changes to the app so it continues to work. Many parts of the app were built years ago on old technology.
In order to keep myArmsCache working with the new iOS, I made the decision to rebuild the entire app — every screen has been updated.
I tried to keep as much of the app format the same, but I made a number of improvements to the screens where you add the data. I also reorganized the app so it’s easier to navigate and find things.
If you have any issues with the app, please let me know so I can fix them. You can contact me through the Support section in the app — scroll down to the Help section and tap on Email Developer.
Here’s an overview of everything that has changed:
MOVED
- Shopping List: you now have a dedicated Shopping List in each section, instead of just one Shopping List.
- Purchase Report: you now have a dedicated Purchased Report for each section instead of the one Purchase Report.
- Statistics: instead of being in the toolbar at the bottom of the screen, Statistics has its own button.
- Additional Photos: There is now a button below the main image where you can add/view additional images for your Guns, Accessories, and Gun Parts.
- User’s Guide: You can now access information specific to each section by tapping on the “?” Button (top left side) next to the section title.
- Export Data: moved to the Support section.
GUNS
You can now access the Shopping List and Purchase Report with buttons in the toolbar at the bottom of the screen.
- Round Count in Gun List: On the right side of your Gun List, you’ll now see the total rounds you put through your Gun (based on what you entered in the Range Report).
- Search: I added a ‘Search by’ section where you can view your Guns by Action, Color, Caliber, Finish, Gun Type, Manufacturer, Location, and Last Fired.
- New Fields: Color, Gun Weight, Condition, Magazines (select Magazines just like Parts & Accessories).
- Additional Photos Button: I moved the button from the toolbar to under the image so it’s easier to access.
AMMO
You can now access the Shopping List and Purchase Report with buttons in the toolbar at the bottom of the screen.
- Search: I added a ‘Search by’ section where you can view your Ammo by Bullet Type, Caliber, Manufacturer, Location, and Last Used. For Bullet Type, Caliber, and Manufacturer, you will be able to see the remaining rounds for those categories.
- New fields: Primer Type, Casing, Grain
ACCESSORIES
You can now access the Shopping List and Purchase Report with buttons in the toolbar at the bottom of the screen.
- Search: I added a ‘Search by’ section where you can view your Accessories by Category, Manufacturer, Location, and Last Used.
- Field Change: I changed the name of the field Optic Details to Item Details — that way it can be used for different situations.
- Additional Photos Button: I moved the button from the toolbar to under the image so it’s easier to access.
- Archive: There is now an Accessory Archive that you can move items to that you no longer use.
GUN PARTS
You can now access the Shopping List and Purchase Report with buttons in the toolbar at the bottom of the screen.
- Search: I added a ‘Search by’ section where you can view your Gun Parts by Category, Finish, Manufacturer, and Location.
- New Field: Model Number.
- Field Change: I changed the name of the field to Specifications.
- Additional Photos Button: I moved the button from the toolbar to under the image so it’s easier to access.
MAGAZINES * NEW SECTION *
Based on the results of the Yearly Survey, I added a new section for magazines.
This section is organized like the other sections, including:
- Search Section: You can view your Magazines by Caliber, Capacity, Category, Color, Manufacturer, Location, and Last Used.
- Shopping List: Keep track of Magazines you want to purchase
- Purchase Report: view purchase details for the Magazines you added.
- Archive: There is an Archive section where you can move Magazines you no longer use.
- Sort: You can sort your Magazine List by Caliber, Capacity, Manufacturer, Model, Factory Magazines, and Favorites.
- Round Count: The right side will show the total rounds you put through your Magazine (based on what you entered in the Range Report).
- Add Guns: When adding a Magazine, you can attach it to a Gun or multiple Guns.
- Move from the Accessory Section: If you have Magazines in the Accessory section, you can move them to the Magazines section. Here’s how:
- In the Accessory section, select the Magazine you want to move. On the details screen, tap the ‘action’ button (bottom right), then select Move to Magazine List.
RANGE REPORT
- Select Range Name: You can now select the Range instead of having to type in the details each time. Due to concerns about your data, I didn’t do a bulk import of your existing ranges.
- To add a Range, you can either add a Range by hand or select one of your existing records. As soon as you select the record, the range details will be added to the Range List.
- New Shooting Records Field: There is now a field to add your Magazine.
- Item Images: On the Shooting Records detail screen, you can now see images and detailed information about the Guns, Ammo, Magazines, and Accessories you add. You can also tap on them to view more detailed info.
TAGS
In the Yearly Survey, there were a lot of requests for specific fields — which didn’t get many votes.
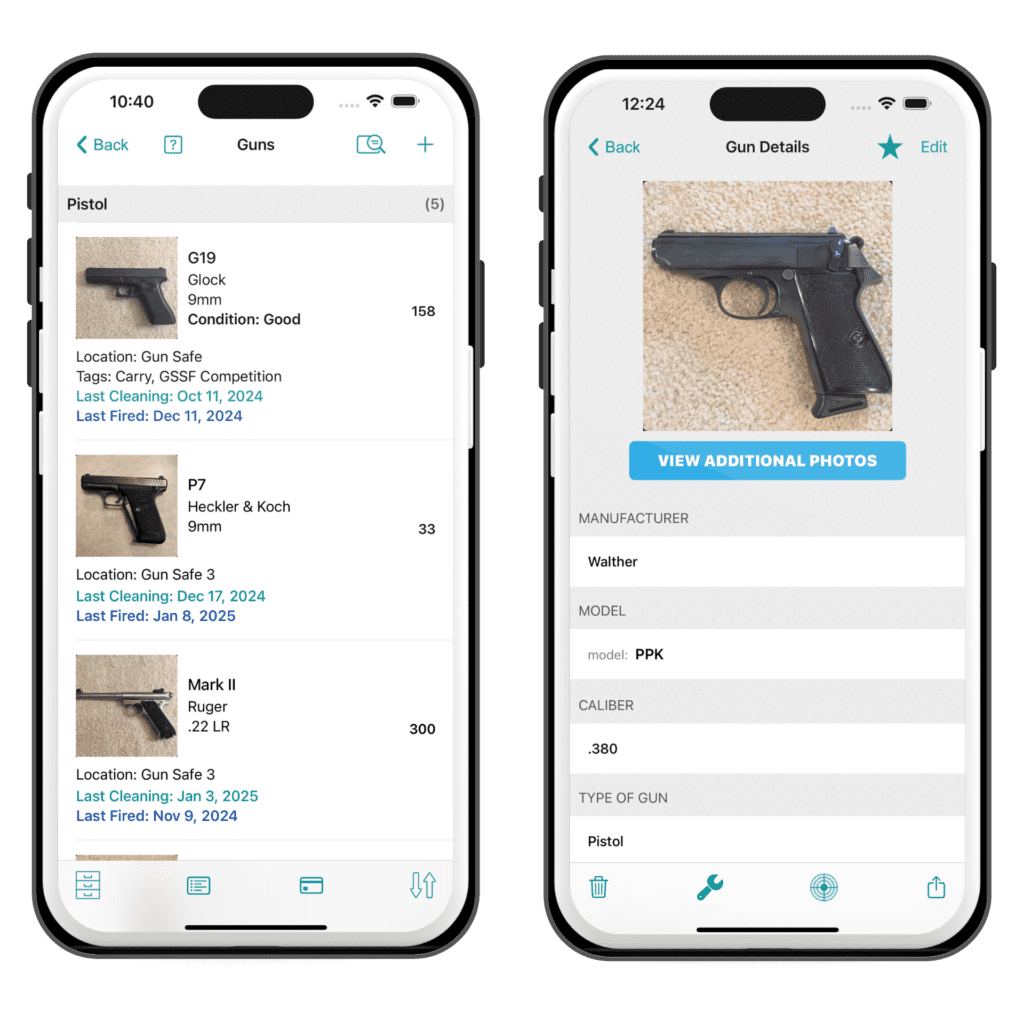
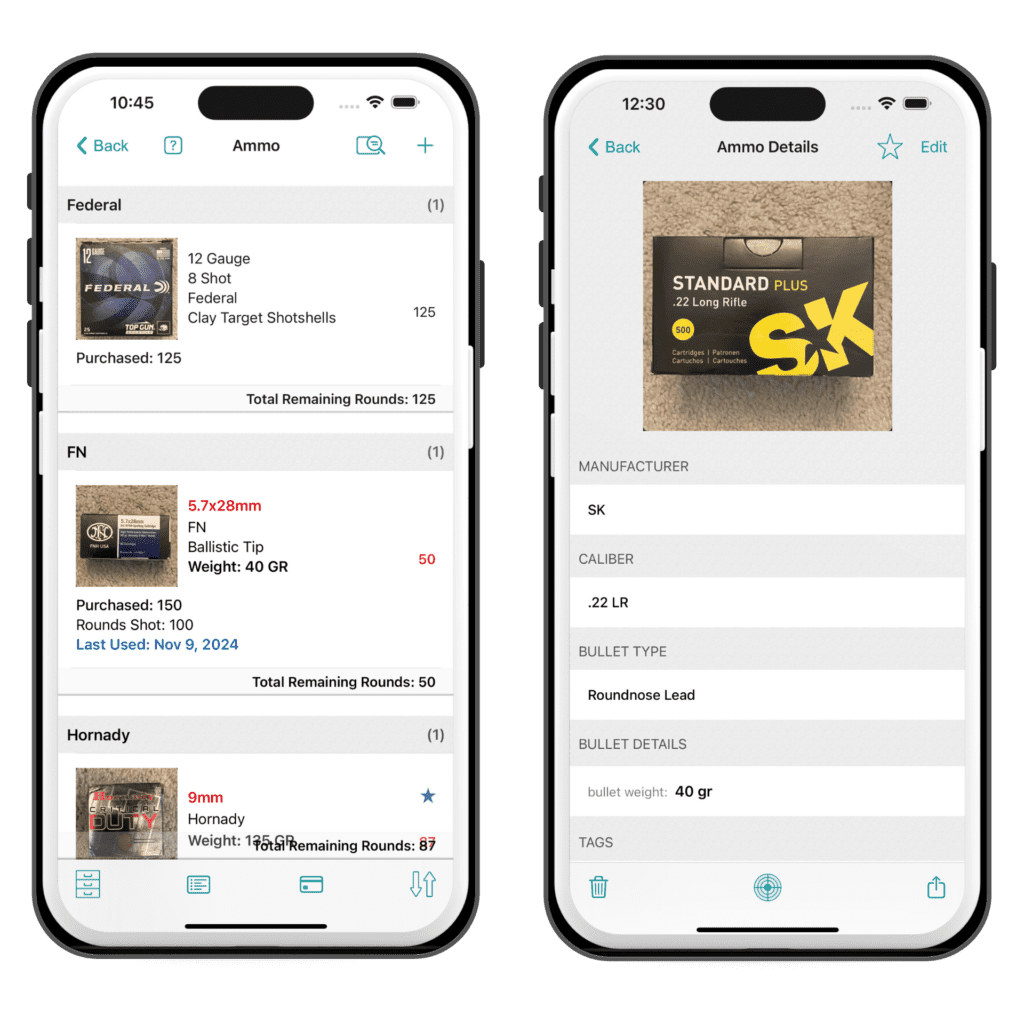
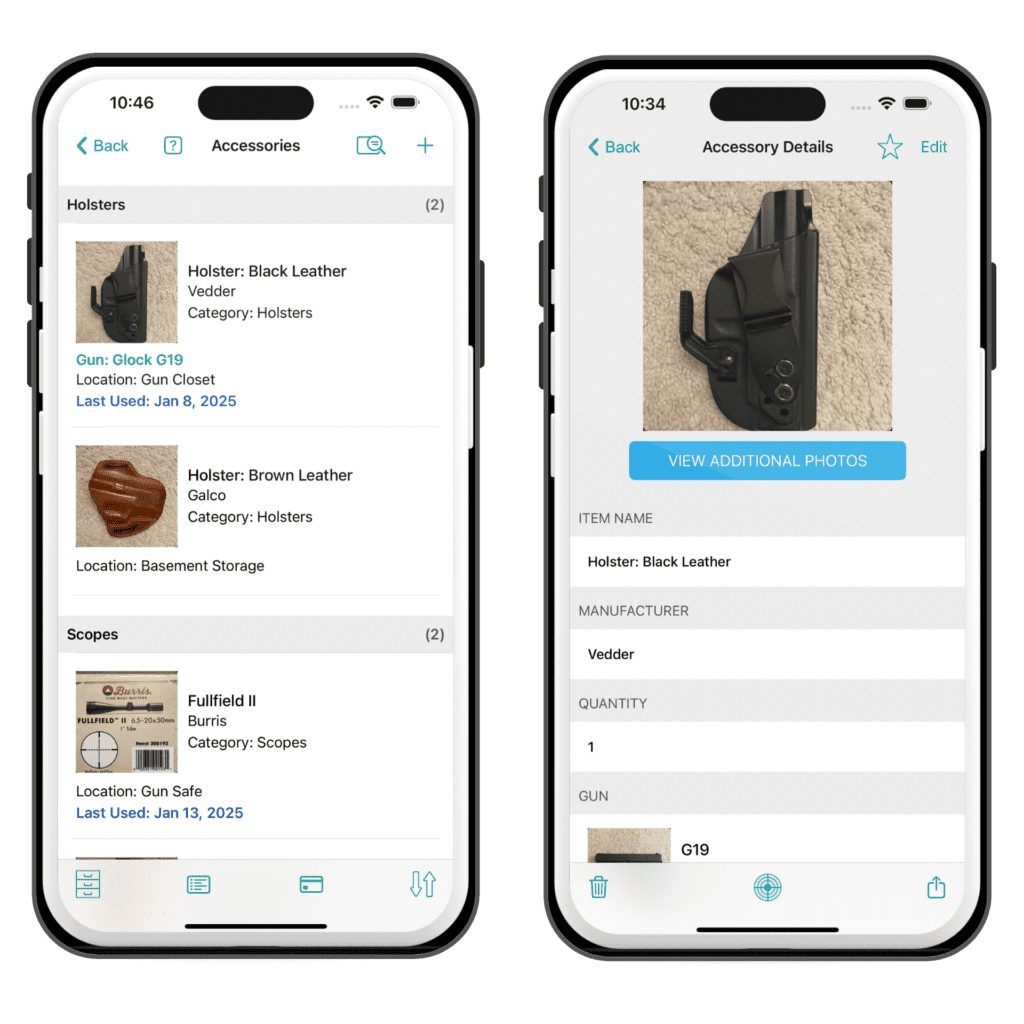
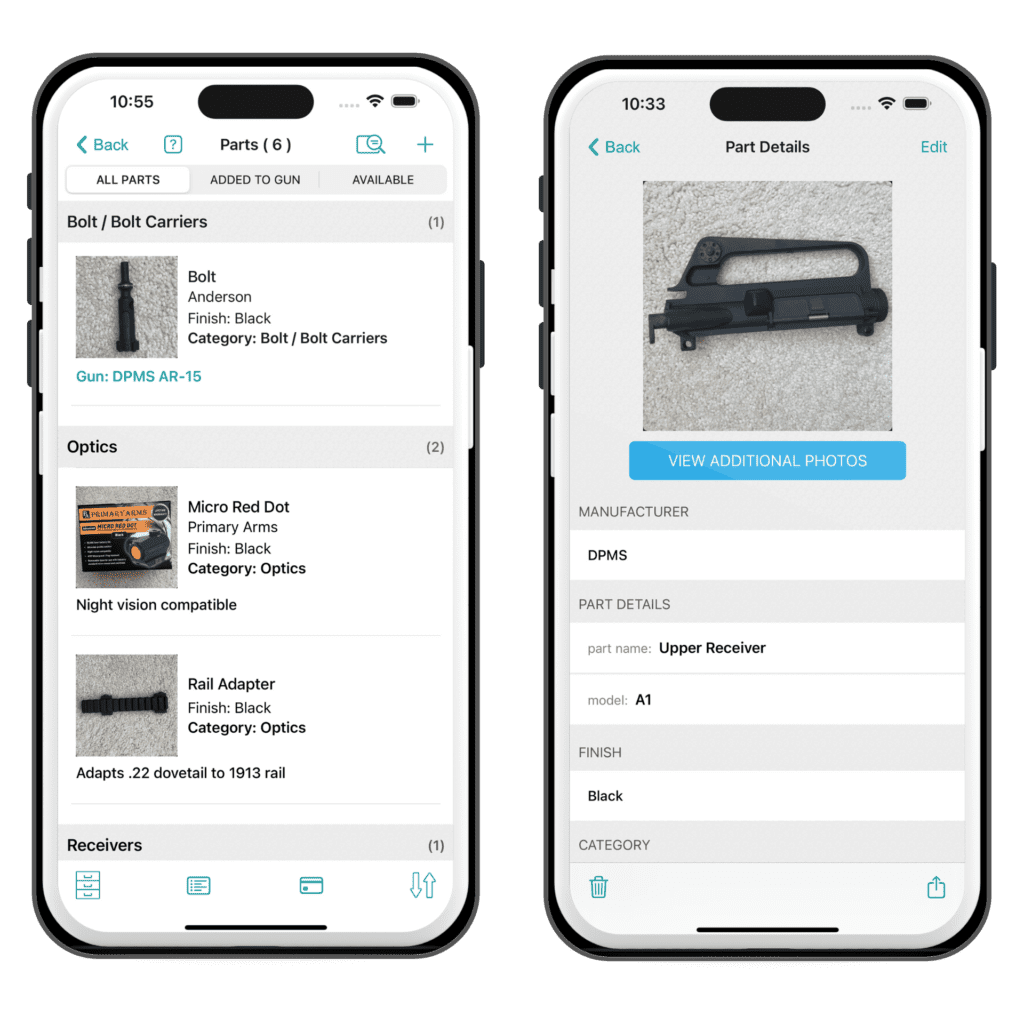
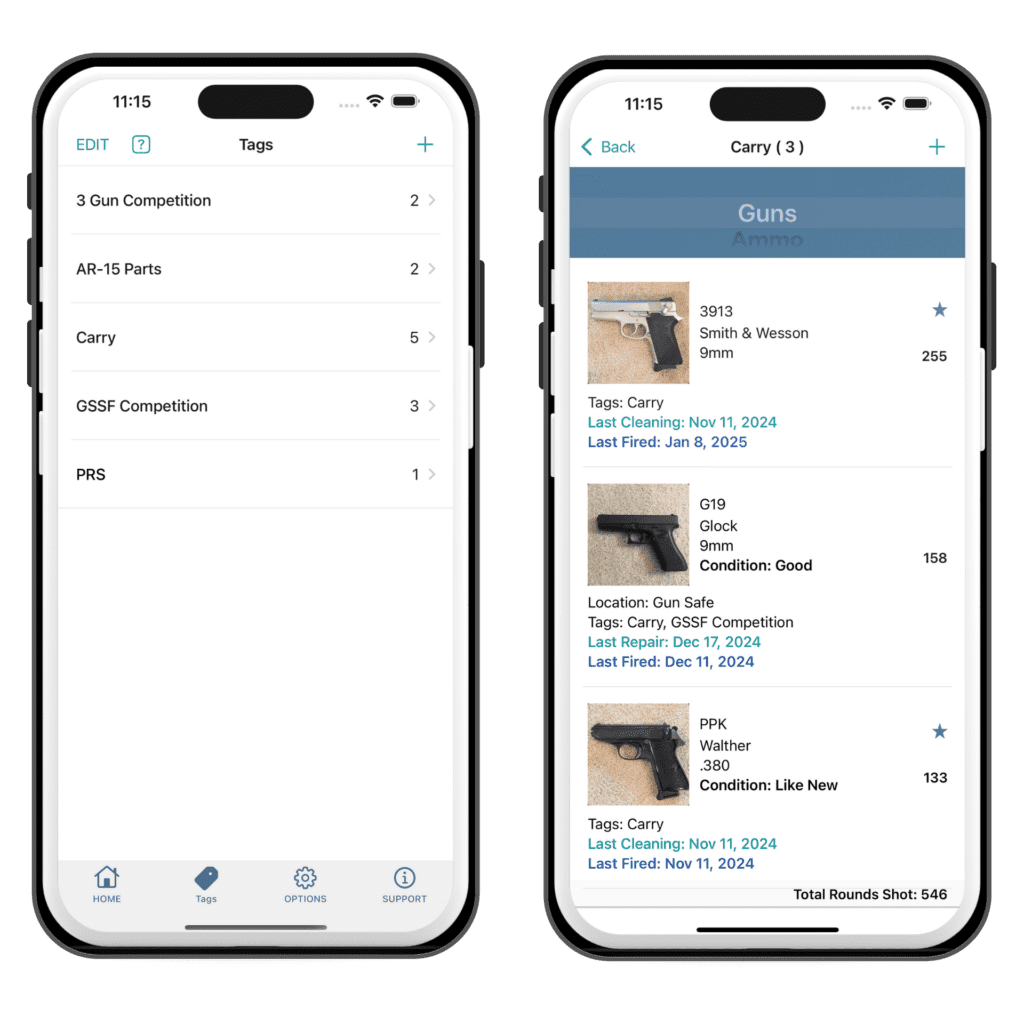
Everyone uses the app differently, and there’s no way for me to tailor the app to everyone’s specific needs — which is where Tags comes in.
You can assign one or more Tags to your items.
The same Tag can be assigned to Guns, Ammo, Accessories, Magazines, and Parts.
This is especially helpful for tracking items with specific classifications, like NFA items. For example, you might create a Tag for “NFA” to group your regulated items.
Tags give you the flexibility to organize your collection in the way that works best for you — whether you’re keeping track of hunting gear, gun owner, duty equipment, or legally regulated items like NFA firearms.
STATISTICS
You can now access the Statistics section on the Home Screen instead of a button in the tab bar (bottom of the screen).
With the addition of the new Magazine section and the Accessory Archive, I added the following statistics:
- Magazines: view the Amount Spent, Total # of Magazines, and # of Magazines in Archive.
- Accessories: new row that shows the # of Accessories in the Archive.
SUPPORT
I updated the Support section to include all your options for backing up data and moved Export Data from the Options section.
New Backup Option: I added a new option where you can save a Backup of your data to your Files app.
You can use that Backup to restore your data if you have an issue or import it to a second device if you want your data on another device.
Access it by tapping on Option 3: Backup & Restore.
PASSWORD * IMPORTANT CHANGE *
I am planning to remove the password option in the next update. Here’s why:
Starting with iOS 18, Apple has introduced a built-in feature that allows you to set a password directly for individual apps. This provides enhanced security and a seamless experience, managed entirely through your iPhone’s system settings.
With Apple’s password option, you get:
- Stronger Security: Apple’s system-level password management integrates with Touch ID, Face ID, and iCloud Keychain, offering better protection than app-specific passwords.
- Simplified Management: With Apple’s feature, you can control app passwords from one place in your device settings, reducing the need to manage passwords in individual apps.
- Consistency Across Apps: The new functionality works across all your apps, making it easier and more familiar to use.
Here’s how to set it up:
1. Go to your Home Screen.
2. Press and hold the app icon for myArmsCache until a menu appears.
3. Tap “Set Password” and follow the steps.
Have questions or issues with the app, please let me know. You can contact me through the Support section in the app — scroll down to the Help section and tap on Email Developer.